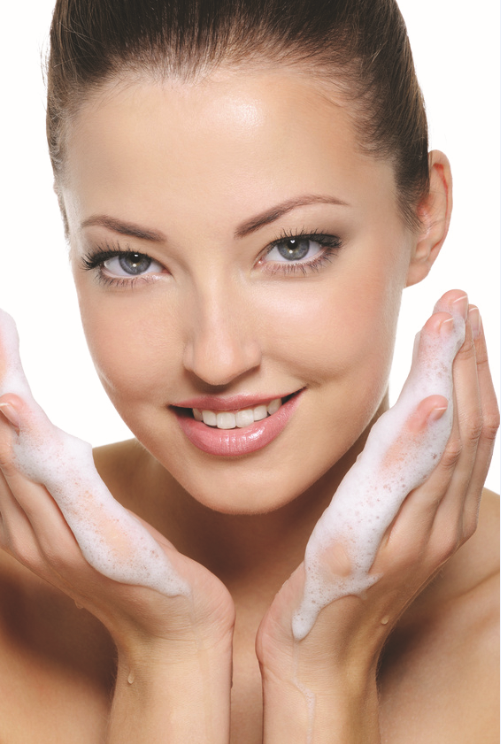
1. Face Prep: Start with a washed and well moisturized face. We recommend our ONATI Skin Care Line. You don't have to wait for your moisturizer to be completely dry since our minerals will not cake. Steer clear of oily products (except for Jojoba Oil), on the skin before using minerals to avoid blotchiness. Applying Vitamin Rich Facial Serum in conjunction with your moisturizer will enhance application and adherence of mineral powders. A couple of additional drops of Jojoba oil mixed with one of our ONATI Face Creams are excellent at providing an additional protective barrier for all skin types, leaving a lovely supple, velvet feel to the face. Once you become an expert at using your minerals, then you may prefer to apply them with our moist application technique. (Explained in Item 5) This only requires a bit more blending in order to achieve flawless perfection and gives additional coverage.
2. Application Prep: Have all of your Minerals ready for ease of use, and get a small plate or bowl for tapping out your Minerals for the cleanest application. Pull the sifter seal tab to allow the minerals to flow.
THIS IS BECOMING OUR MOST PREFERRED: Mineral Makeup Foundation Moist Method Application
3. Conceal: Begin with your Sterling Minerals Foundation to conceal. Tap a small amount onto your dish or jar lid. Dip dry or spray moistened tip of large all over shading brush into powder. Press powder gently onto skin. Once the majority of your minerals are placed where you want them, then begin to stroke the brush over your minerals in one direction for even blending. Begin with under your eyes for dark circles and then proceed to any flaws or redness you wish to reduce. For best results for the under eye area, apply minerals while skin is still moist. This will make for a perfect blend with your moisturizer for that flawless coverage.
TIP: Use a color 1-2 shades lighter than your foundation shade, preferably with a yellow undertone for color correcting dark circles and neutralizing red. Also since this is lighter than your foundation shade for your face keep away from outside corners of your eye to reduce the appearance of fine lines. Maybe use just a touch for blending out purposes. If you are of fair skin you can use same shade for concealment of flaws or if using a pink undertone fair shade, go to our fairest with yellow undertone for reducing redness and under eye circles.
LEARN MORE ABOUT COLOR CORRECTION: Do You Offer Mineral Makeup Color Correctors?
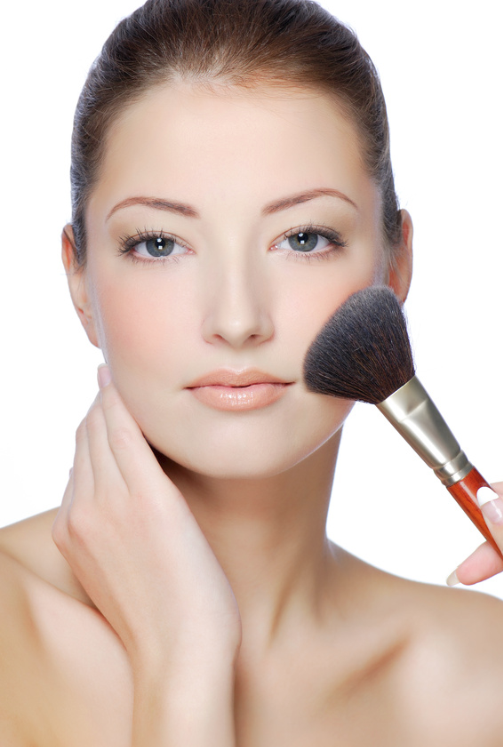
4. Face Primer: This step is not necessary with our mineral makeup products. The perfect blend of our unique ingredients provides great coverage and oil control, when choosing the correct mineral foundation formula, you'll have excellent oil and moisture control lasting all day. Mineral Veils are used for finished effect or a boost for additional oil control when using a formula other than Velvet Rose when dealing with sensitive skin issues.
TIP: When dealing with a t-zone issue, less is more with Evening Rose Veil. It will work wonders with just a small amount and provide that added boost for oil control.
5. Foundation Application: Tap a small amount of your favorite Rose Petal Mineral Foundation onto the plate or jar lid. Using a mineral makeup brush, (choose a Jumbo Buffer, Jumbo Flat Top, Large Buki or Large Rounded Face brush), dip and swirl into the powder. Tap off excess powder if desired, but don't worry about this since our minerals will not cake. Press powder to the larger areas of your face, working toward T-Zone. Sweep in one direction to blend. Now just lightly buff using slight pressure to evenly disperse minerals into hair line and down your neck, all the way to your décolleté if desired for the perfect look. Do not over buff....It is not necessary with Sterling Minerals! This will also assist with preventing further irritation for sensitive skin ladies.
Best Application: If you really want the perfect look and cut down on powder residue at the same time, lightly spray brush with distilled water or Perfect Balance Facial Toner, then dip into minerals and press, blend and buff again. If you desire more coverage, then apply a second layer and continue to do this until you reach the level of coverage you desire. See our Moist Method Application Technique for more details.
TIP: Back and forth strokes will cause brush to flick, causing minerals to scatter. Our Pigments are rich and our adhesion perfect in order to provide instant coverage with a single application.
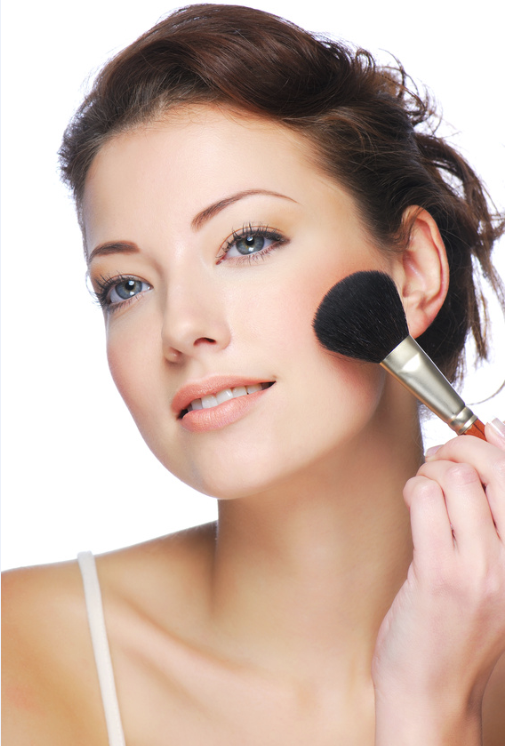
6. Blush Application: Next tap a very small amount of your Rosebud Blush onto plate or jar lid and using a Chubby Blender or Small Rounded Face brush, dip and press powder into bristles, (Blushes are very concentrated and you should only see a touch of powder on the bristles. Do not use the moist method of applying, yet a spritz of moisture helps to pop and intensify the shade and then blend further for richer color) and lightly swirl onto the apple of your cheeks. (Smile to show those lovely apples.) Only sweep on angle of cheeks for a softening effect. Add blush in layers for best results.
TIP: Swirling on apple of cheeks instead of sweeping a line of blush like old school will give a more natural look to the face avoiding the line of demarcation on the face. You want your cheeks to look as though you have a glowing healthy skin, kissed by Mother Nature, not makeup. Our pigments are full and rich in all of our blushes. If you find you have placed too much on, blend down with mineral veil or go over again with your foundation brush to the right level of color you prefer. For a stronger bloom of color, lightly spritz a spray of distilled water or Perfect Balance Facial Toner over your face after application.
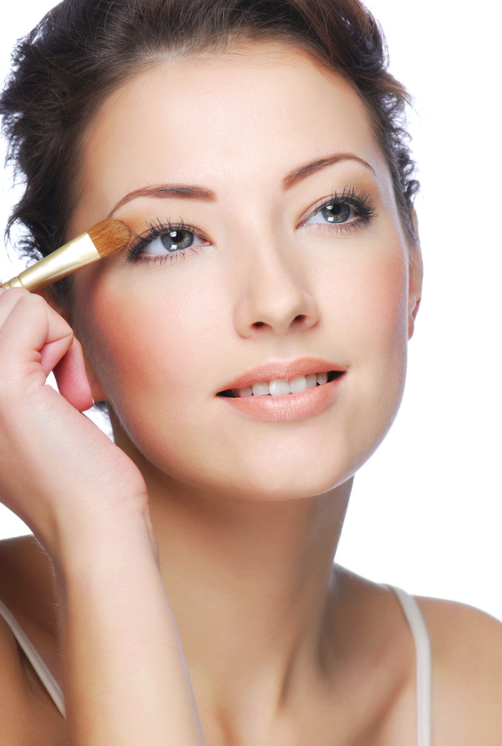
7. Eye Color Application:
Just a dot for each eye is all that is needed on the plate or jar lid. Press the eye shadow into the brush. Now apply your Rose Bloom Eye Color with short firm strokes, only sweeping to blend color. You may also apply these with a wet brush known as foiling, however we have found it not necessary with our richly pigmented formulas.
TIP: Women of mature years do not need to worry about the old school of thought that wearing a shadow with shimmer will make you look older. In fact just the opposite will occur. They can create brightness to the eye, lifting the brow and opening the lid for a less tired look. Certain Colors used are actually more of a factor on aging the face than Shimmer or Matte finishes. It is strictly preference on what you prefer.
TIP: For a prominent lid, shade the lid with a darker color all the way into the crease and only highlight the brow. You can also place a darker shade along lash line for recessing the lid a bit more.
For beautiful deep set eyes put a medium soft color in the crease and shade up to the brow. Put the lightest color possible on the lid, preferably with a bit of shimmer to enhance the lid a bit more. Avoid using a brow highlighter on your eyes since this will only pronounce the brow bone further causing the eye to recess deeper. For mature woman wanting to gain a more youthful appearance, try shading with a medium shade on the lid and graduate the shading going lighter as you work towards the brow.
Tip: Only apply Mascara to the upper lashes and stay away from liners or shading on lower lid as this will only serve to close the eyes down and make you appear tired looking and older. You want your eyes to be bright and sparkling.
For close set eyes place a lighter shade, perhaps with some shimmer, across the lid and feather into the crease staying close to the inner portion of the eyelid. Now apply a deeper shade in the crease over the center of the eye and feather out within the crease toward the outer portion of the upper eyelid reversing back toward the inner portion of the upper lid across lash line, stopping above pupil of eye, creating a sideways "V" to the shape of the eye. This will give the illusion of your eyes appearing farther apart than they actually are. There are as many techniques as there are eye shapes and colors, and we have only mentioned a few. Trial and error and playing with our many gorgeous shades will help you discover what looks and works best for your age and eye shape. Have fun!
8. Bronzer Application: You can skip to 10 if you do not wish to use Mineral Bronzer. Now apply our Sunny Rose, Golden Rose or Copper Rose Bronzer by lightly applying a scant amount on the plate or jar lid and dip and swirl using a dry Large Rounded Face or Small Rounded Face brush. The more open bristle on these brushes is necessary so minerals will not concentrate on your face. You want to achieve light and even coverage, just a sun kissed complexion. With this brush you want to lightly sweep, (do not press), over forehead, upper cheekbones, across bridge of nose and chin. These are the areas the sun would naturally kiss. Once you have achieved the desired look, blend and swirl your entire face again for flawless perfection, concentrating around the T-Zone and outer corner of eyes for reduction in appearance of fine lines. Allow color to deepen before adding more Bronzer. During those summer months, you may wish to blend some bronzer into the neck line to avoid too much shading contrast if your neck appears a bit lighter than your face and chest.
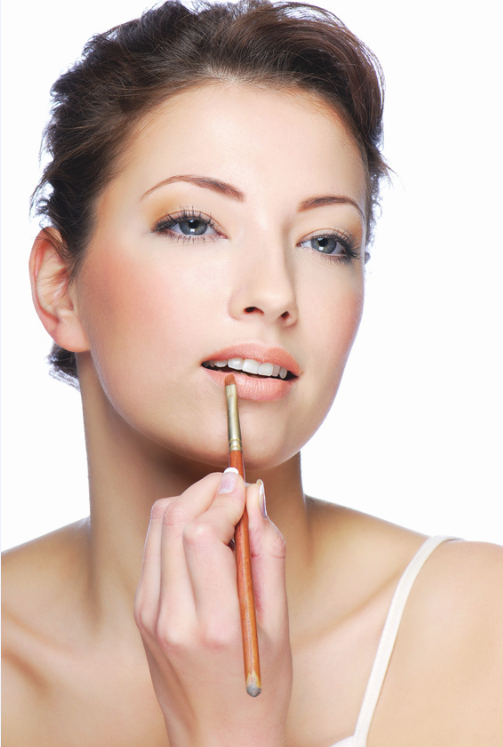
9. Moisture Spritz: You can follow your mineral makeup applications with Perfect Balance Facial Toner for additional skin softness and setting of your mineral makeup. It will leave your face feeling refreshed and give a nice dewy appearance to the skin.
10. Mineral Veil Application: For excessively oily skin you may want to finish your look by applying another layer of Evening Rose Veil, otherwise for all complexions if you so choose, finish off with our Satin Rose Veil with similar technique described. Sweep, buff and blend. Our Mineral Veils are not necessary for the flawless face but are a nice enhancement to assist further for correcting individual skin problems, such as reducing pore size or soothing rosacea and acne flareups and reducing the redness associated with them.
TIP: You do not need much of the Mineral Veils since this is not like using a Cornstarch based product. Very little will work wonders at setting your makeup and giving you excellent moisture and oil control. You can apply with either dry or moist brush using distilled water or our Perfect Balance Facial Toner.
11. Finished Face: Finally, apply one of our Lip Colors, brow color and mascara for the completed look. You have accomplished the Flawless Face Technique for that Flawless Finish.
12. Final Step: Take good care of your brushes and keep your jar lids clean. Wash them at least once per week, twice per week is preferred if you use your Sterling Minerals everyday. A gentle shampoo is excellent for cleaning the synthetic hair used in our brushes. Make sure all soaps are rinsed well so as not to leave residue and interfere with mineral applications. Use alcohol to wipe out the lids of the jars.
